Add a printer to a
new IP address
To install a printer using an IP address that hasn't been used by
the printer server yet, follow these steps
- Put the dot in Create a new port and select
Standard TCP/IP Port from the drop down
- Click Next
- Type in the IP address for Printer Name or IP
Address:
- Click Next
- Click Finish
- Click Have Disk
- Click Browse
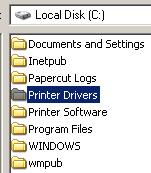
- Navigate to the location the printer driver is at (in
this case it is under printer drivers. This will be different
for your system)
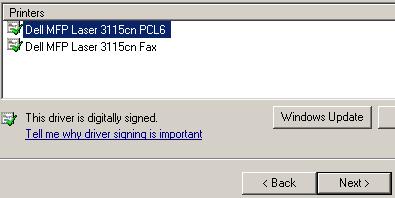
- Select the inf file for the printer
- Select the printer that matches yours
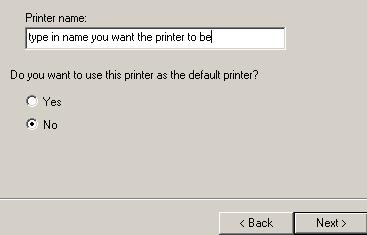
- Type in the name you want the printer to have
- Say No to Do you want to use this printer as the
default printer?
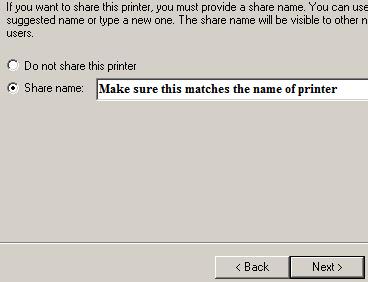
- Make sure the share name is exactly the same as the name on
step 8 (Sometimes part of the name will be
cut off. If this is the case, just type in the rest of the name)
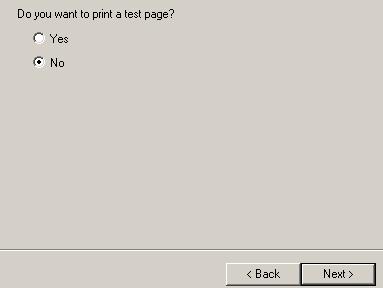
- It might ask you if you want to print a test page. Say Yes
or No
-
|
|


