How to burn a data
disc
Use Data to burn files to a disc. This procedure is also used to
burn MP3 music to disc as well. For information on burning MP3
music, click here. To burn a data disk, do the following
- Choose the OS
- Windows XP
- Click Start
- Windows Vista
- Click All Programs
- Click Roxio Creator DE
- Click on Home
- Click on Data and Backup
- Click on Data Disc
- Put a CD or a DVD in
- To use a DVD, you must have a DVD drive.
Click here for
information on types of drives
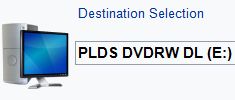
- Choose the drive you want to use
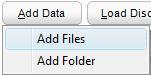
- Click on Add Data
- Choose one of two options
- Add Files (For more information on
how to select files click here)
- Add Folder (For more information on
how to select folders
click here)
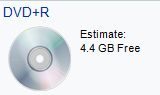
- You will see the amount of space free and how much you have
used by the graphic that is on the lower left side of the
program
- When your ready to burn the disc, click the record button.
- When it is done, it will eject the disc
Add Files
You can add one file at a time or you can add multiple files. To
add more than one file at a time, do the following
- Click Add Files
- Select the first file
- Scroll down to the last file you want selected
- Hold down the Shift key and click on the last file you want
highlighted.
- Now all the files between the first one you highlighted and
the last one is highlighted
- Click Add
- When your done selecting files, go to step 12
above
Add Folders
You can add as many folders to the project as the CD or DVD will
hold. However, you can't select more than one folder at a time. To
add folders, do the following
- Click Add Folder
- Click on a folder you want to burn to the disc
- Click OK
- If there is another folder you want to add, repeat steps 1
through 3 till all folders are added.
- When your done selecting folders, go to step 12
above
|
|