
Install Battery
Warning! Not following these procedures correctly can cause damage to your system. These directions are not designed to replace a qualified technician. The directions may not completely match the setup of your system due to the numerous variations of computer setups available in the market. If you not sure how to follow these directions then please consult a technician to help you. UpgradeNRepair and its representatives are not responsible for any damage.
 |
Read this safety info above before performing steps
-
Enter the BIOS and take note of the settings. Changing the battery should not affect this but you should take note so if it does, you can return the settings back to the way it is.
-
Disconnect every cable or cord that is attached to the computer. (if it is connected, disconnect it. It needs to be where you can pick up the computer and run out the door with it without no cables snatching you back)
-
With the power cord disconnected, push the power button and hold it in for 5 seconds VERY IMPORTANT!!! Do not put the power cord in! (This discharges any power that is still stored in the system.)
-
Remove the computer cover. (Consult the computer manual or manufacturer for the procedure to remove the cover.)
-
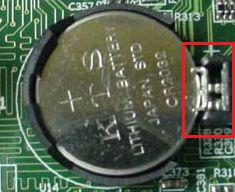
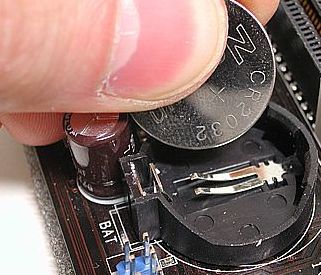
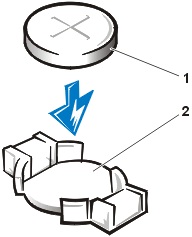
Look at the orientation of the battery. You will want to put the new one back in to match the orientation of the old one.
-
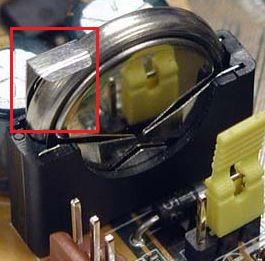
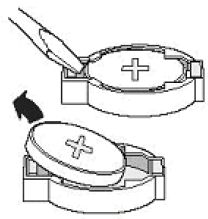
There will be a clip or a lever to push that will allow the battery to pop out or slide out. (use a pin or a screwdriver and gently push the lever back. The battery will pop out or allow you to lift it up) (the lever to push is indicated in the red box in the pictures below. There are other types of battery slots but this shows the basics of removing the battery)
-
Enter the BIOS and verify the settings is correct, especially the date and time.
 |
 |
 |
 |
 |